





How to Repair Loose Joints, Cracks, and Lifted Veneer on a Vintage Wooden Dresser
Breathing new life into an old wooden dresser requires patience, a steady hand, and a healthy respect for the original craftsmanship. Vintage furniture carries the marks of its history in every scratch and wobbling leg, but structural damage demands active intervention. When a drawer frame loosens or a piece of walnut veneer starts peeling away from the drawer front, ignoring the problem only leads to further deterioration as humidity and daily use take their toll.
Tackling these repairs at home does not require a fully equipped commercial cabinet shop. Simple hand tools, the correct adhesives, and careful clamping methods yield results that honor the piece while restoring its daily utility. Understanding how different woods respond to moisture and glue makes the difference between a lasting fix and a messy failure that ruins the surrounding finish.
Assessing Loose Joints and Old Glue
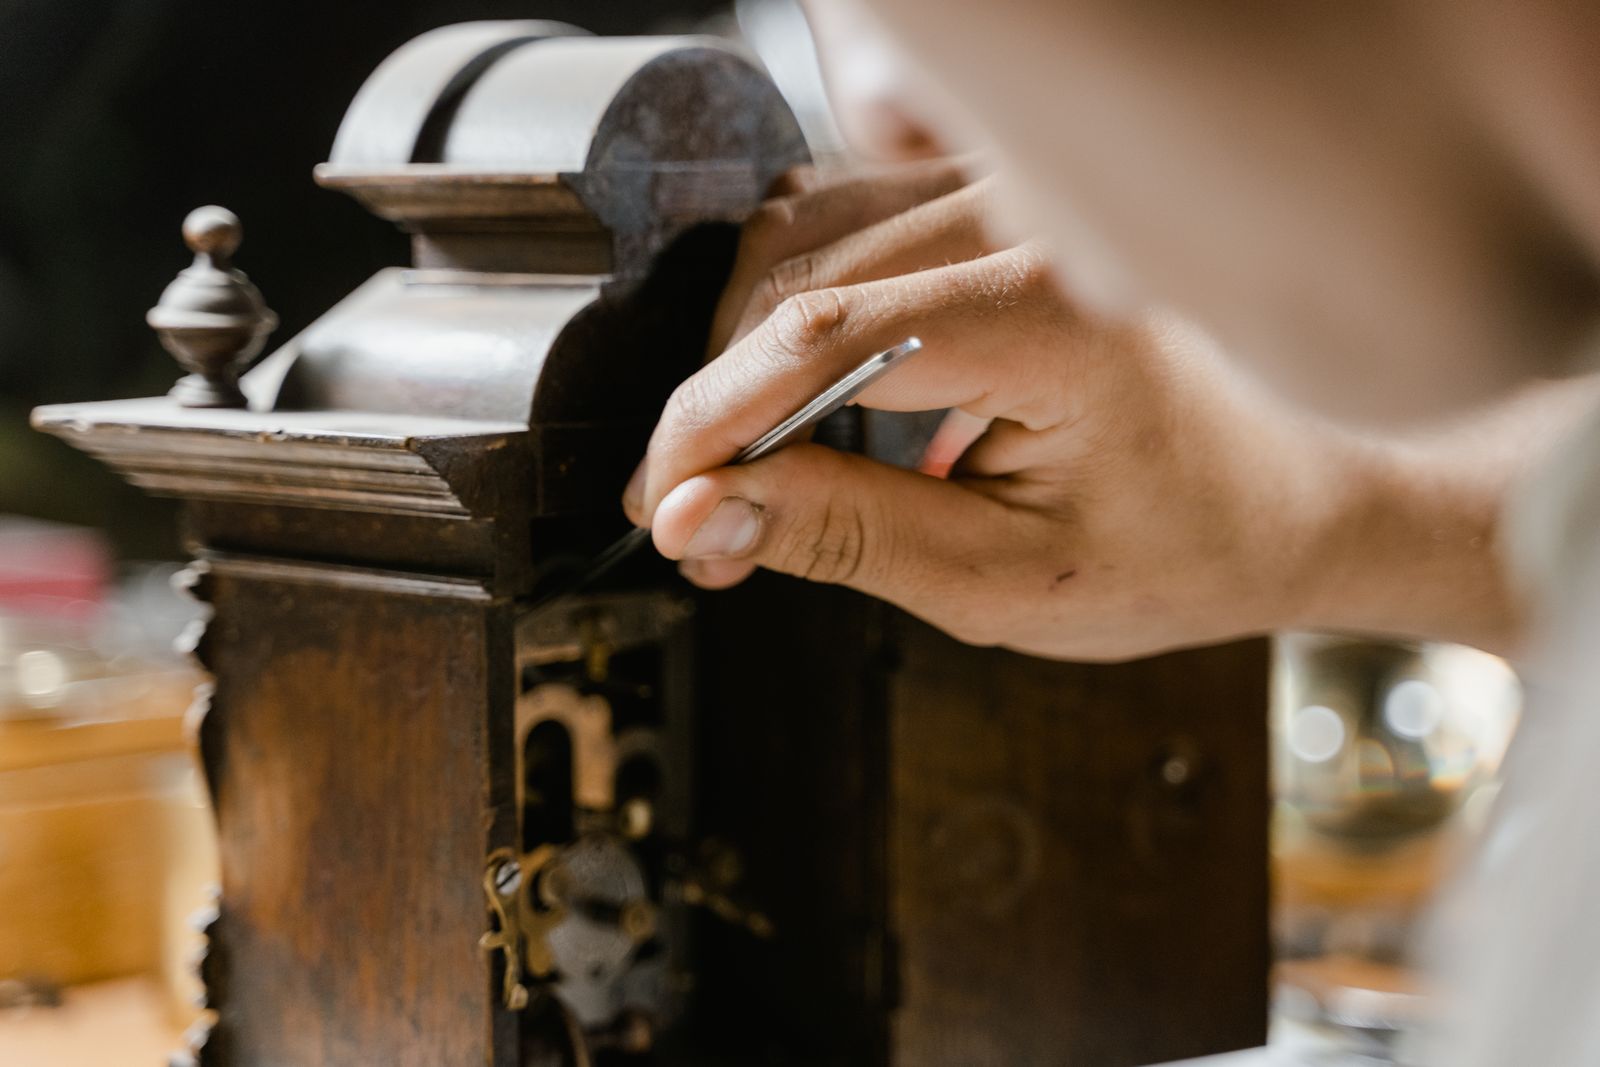
Wobbling frames and sagging drawer runners usually stem from dried-out animal hide glue that has turned to dust inside the joint. Take the dresser apart carefully by tapping joints with a rubber mallet, noting which pieces fit together before removing them completely. Scrape away the powdery remnants of the old adhesive using a small chisel or a sharpened screwdriver tip because new glue will not bond to old, degraded residue.
Dry-fit the pieces back together without any adhesive to check for gaps caused by warped wood or missing fibers. Apply a modern PVA wood glue or traditional liquid hide glue into the mortise and onto the tenon, ensuring coverage across all mating surfaces. Clamp the assembly tightly using parallel bar clamps, placing scrap wood blocks between the metal jaws and the antique furniture to prevent ugly indentations on the soft old timber.
Gluing and Clamping Lifted Veneer
Veneer blisters and lifted edges occur when the underlying nineteenth-century hide glue softens due to humidity or heat. Slitting the blister carefully along the grain with a sharp craft knife allows you to inject modern aliphatic resin glue or reactivate old hide glue with a warm household iron and a damp pressing cloth. Press the bubble down firmly from the center outward to force out excess adhesive and air pockets.
Successful veneer repair depends entirely on distributing uniform pressure across the fragile surface without shifting the grain alignment. Cover the glued area with a sheet of waxed paper to prevent sticking, top it with a flat wooden caul, and apply heavy weight or multiple small clamps. Leave the pressure in place for at least twenty-four hours to let the wood fibers settle permanently into their original flat position.
- Clean out old dust from the veneer pocket
- Use a syringe for precise glue injection
- Place waxed paper over the repair zone
- Apply flat wooden cauls for even pressure
- Wipe away wet squeeze-out immediately
- Let the adhesive cure undisturbed overnight
Filling Small Cracks and Gouges
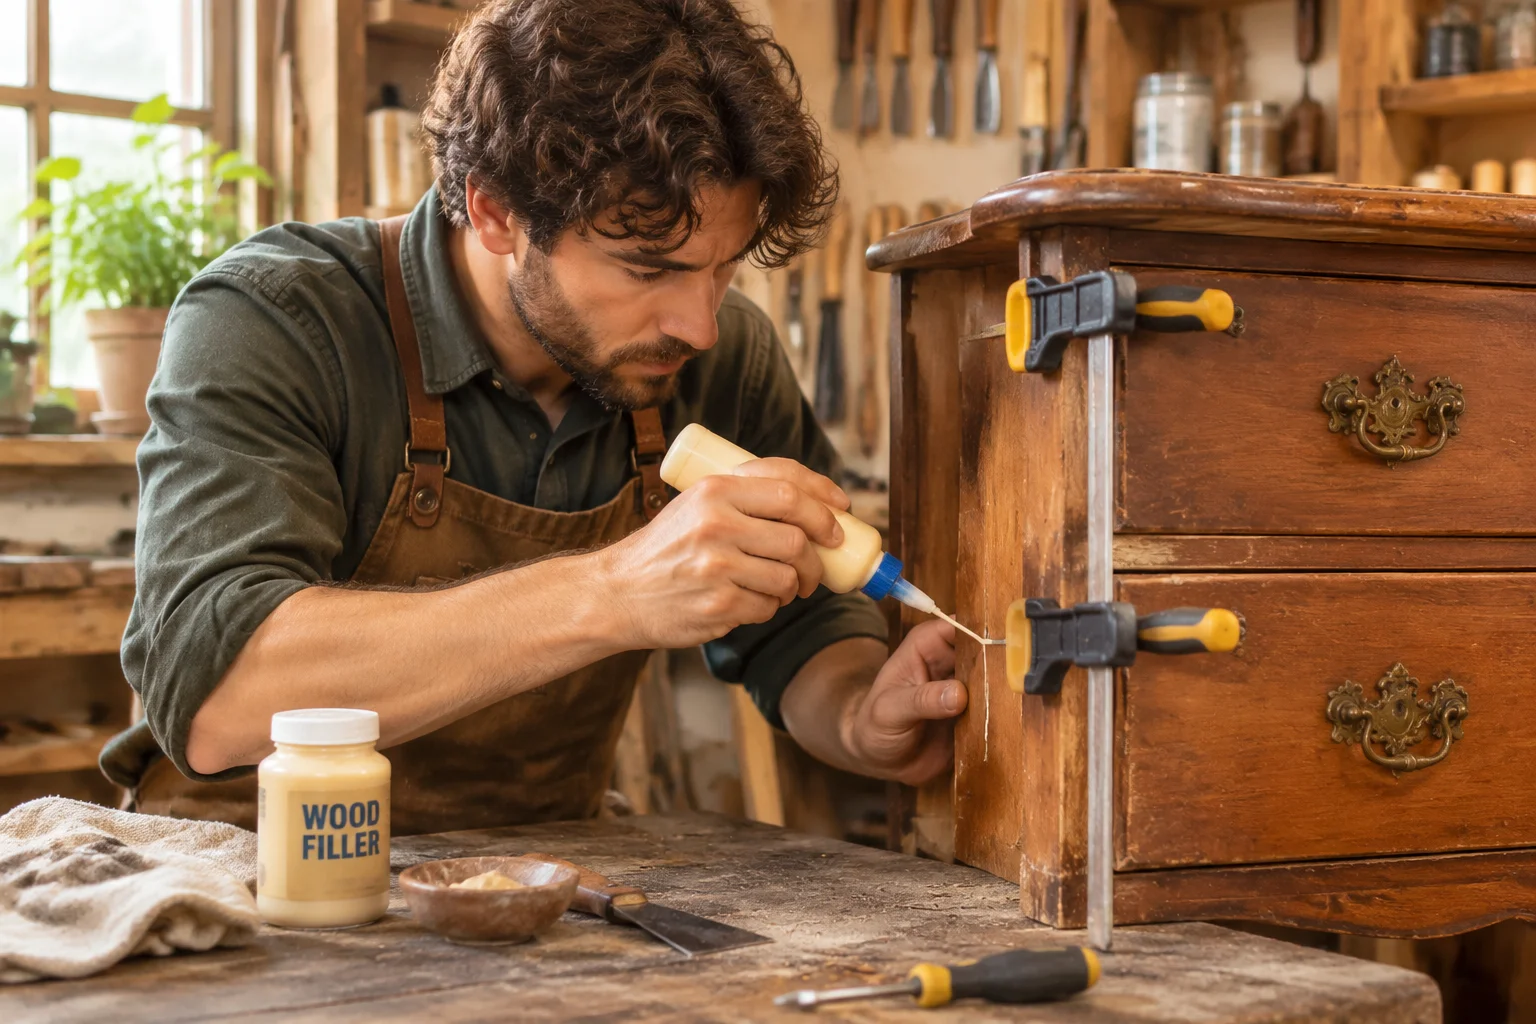
Hairline splits and small gouges on the dresser top or sides need careful filling to prevent dirt accumulation and further splitting. Mix fine sanding dust collected from an inconspicuous area of the dresser back with clear sanding sealer or neutral wood glue to create a custom filler that matches the base timber tone. Press this homemade paste deeply into the crack using a flexible putty knife, leaving a slight mound above the surface to account for shrinkage as it dries.
Sand the dried filler flush with the surrounding wood using fine-grit sandpaper wrapped around a rubber block to keep the surface flat. Take care not to cut through the thin surrounding finish into the raw wood underneath, which creates a noticeable light patch. Building up the sheen gradually with paste wax or shellac restores the uniform luster of the vintage surface.
Matching Color and Finishing Touches
Raw wood patches and fresh filler stand out starkly against aged mahogany, oak, or cherry unless you tint them to match the surrounding patina. Apply alcohol-based wood dyes with a fine artist brush rather than pigmented stains, building up translucent layers of color until the repair disappears into the grain pattern. Seal the colored touch-up with a thin coat of shellac applied by rubber pad or brush to lock in the pigment.
Protecting the entire restored dresser with a quality microcrystalline wax feeds the dry wood and provides a soft, authentic sheen without the plastic look of modern polyurethane. Buff the wax gently after twenty minutes with a clean cotton cloth to bring out the natural depth of the vintage grain. Your repaired dresser now stands ready for another lifetime of service in your home, its scars treated with respect rather than hidden away.